Yakit makes eCommerce shipping simple with a straightforward user interface that automatically generates all required documents.
The following video shows how to use the Yakit shipping platform:
To summarize, the merchant's hassle-free shipping process involves the following:
- Create a Yakit job: The merchant creates a new job when they are ready to ship by clicking on the “Create New Job” button in the Yakit Interface. A unique job ID will be created and assigned to the merchant’s account, which holds all the shipments that are ready to ship. This makes it easy for the merchant to view all shipment-related details with this unique job ID—there's no need to have records of multiple shipment IDs or tracking numbers.
- Package shipments: Yakit recommends that merchants pack their shipments as efficiently as possible in order to minimize shipping costs (however, the merchant should be able to affix a 4 in x 6 in shipment label to each package). Merchants should pack their shipments and enter the corresponding dimensions and weights before adding shipments to the job.
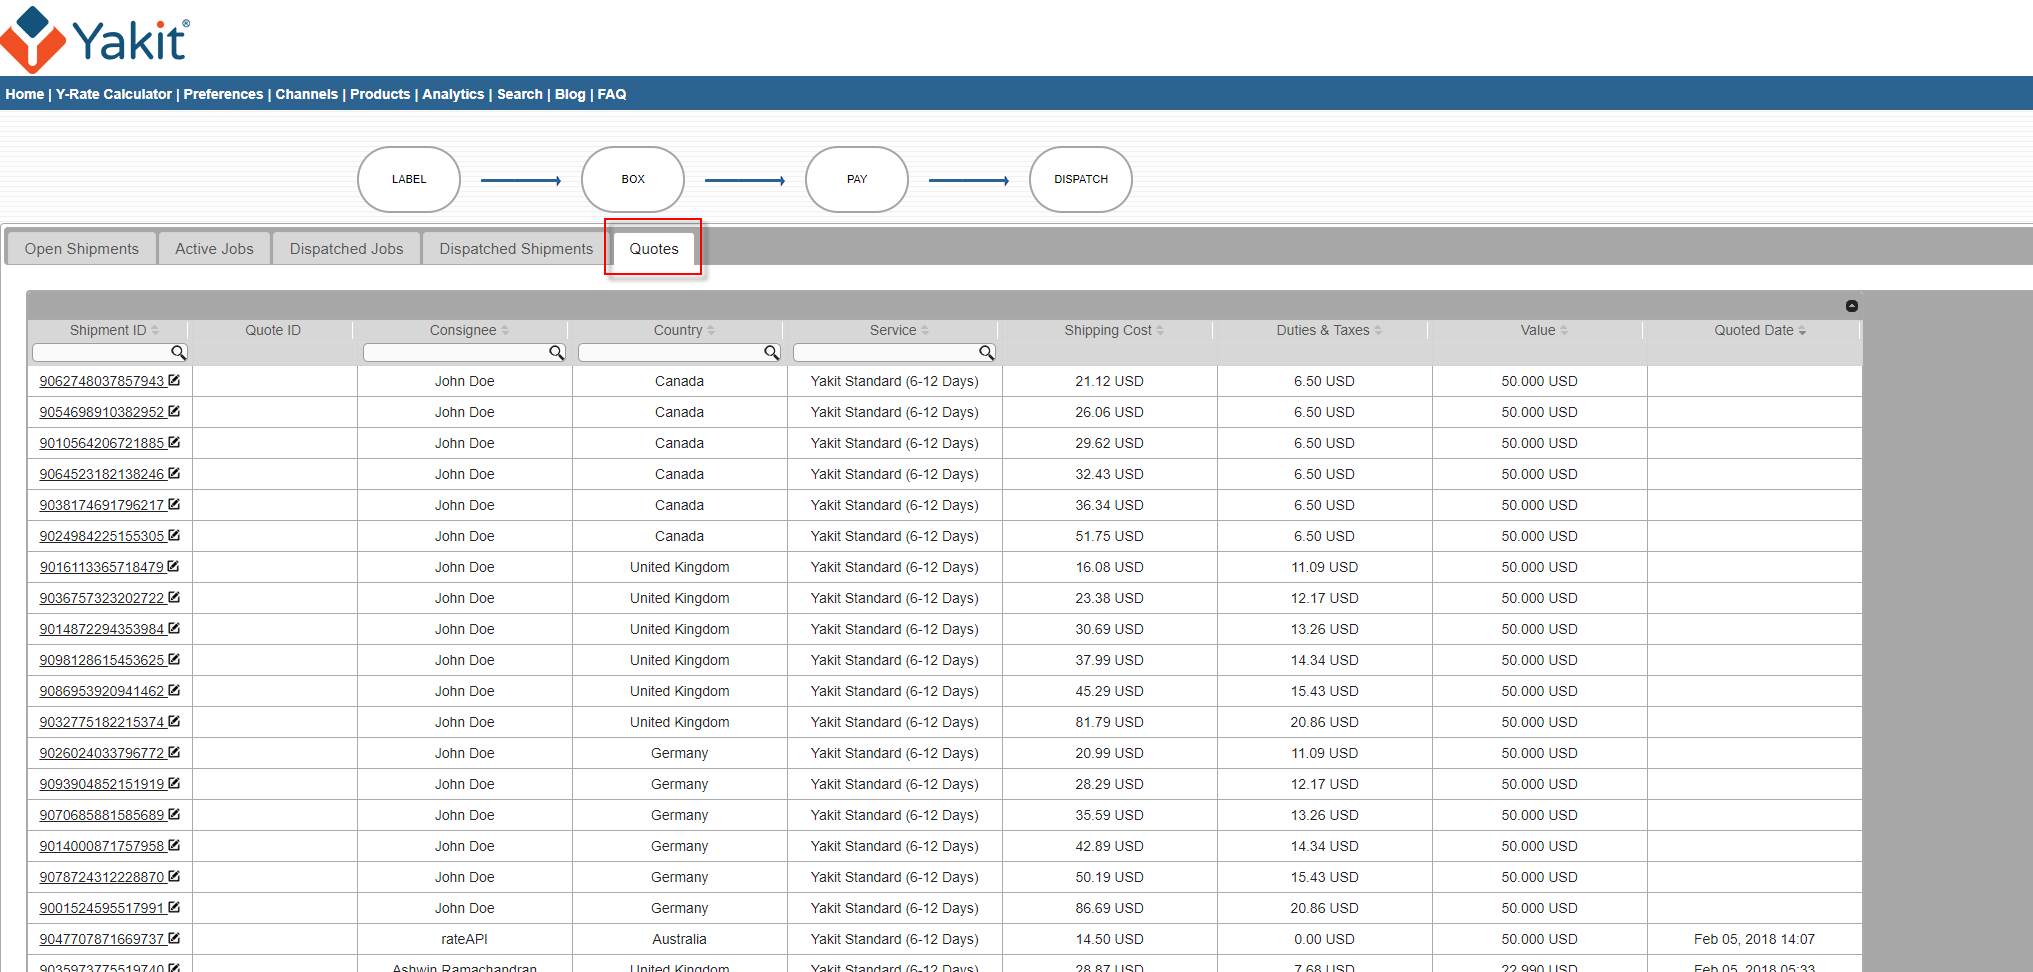
- Add shipments to the job: We simplified the process of adding shipments to a job by allowing users to upload an Excel file with product details in a standard format. The Yakit Interface reads the data from Excel and generates shipment IDs. Yakit displays all shipment IDs with corresponding item details so the merchant can easily verify, make changes to, and approve all shipments.
- Print shipment labels: Once shipments are approved, the Yakit Interface will display an option to print individual shipment labels for all shipments in the job. Merchants can then stick these labels on their respective shipment packages.
- Create shipment groups: Yakit Ecommerce Shipping allows merchants to upload shipments going to different countries in one job. Yakit groups shipments based on the country of destination and assigns these groups a shipment group ID.
- Boxing: The merchant adds all shipments going to the same country to a larger cardboard box, effectively preventing shipments from traveling to an incorrect destination. Yakit provides a simple tool for Boxing that finds the optimal Yakit Box dimensions for a given group of shipments. Merchants may use one or more Yakit Boxes for a shipment group.
- Pay for the job: Once all shipments are Boxed, the Yakit Interface displays a payment page where merchants can see the total landed cost of their shipments. Yakit has two payment options: (1) pay in advance and use the purchase order number, or (2) make the payment using a PayPal account.
- Dispatch: Once payment is authorized, the merchant prints labels and dispatches their Yakit Boxes.
Yakit takes the shipment forward from here. No paperwork from the merchant is needed—Yakit generates all necessary documents and sends these electronically to our shipping partners and customs agents. Don't Just Ship it, Yakit!